What is Clarified Butter?
Regular butter is an emulsion with three main components — about 82% fat, 16% water, and 2% milk solids. Clarified butter is simply regular butter where the water and milk solids have been removed. This is accomplished by gradually melting butter over low heat to evaporate the water. Gentle heating also separates the butterfat from milk proteins and other residual solids which can then be strained out.
Graphic courtesy of the SF Chronicle.
Clarified butter is often used interchangeably with “ghee”. While they are very similar, there is actually a small difference in the process which makes a sizable difference in the end flavor. Unlike clarified butter, which is cooked just to the point where the water evaporates and the milk solids separate, ghee is cooked until the milk solids begin to caramelize. This produces a beautiful, nutty flavor and aroma that adds depth to any dish.The Advantages of Clarified Butter
Don’t get us wrong, we love regular butter, but eliminating the water and milk-solids has several key benefits:- It increases the smoke point from 350°F to 450°F. This allows you to use it for searing proteins and other high-heat applications where regular butter would burn.
- It makes the butter shelf-stable. When made properly, you can keep ghee in a glass jar for up to 6 months, and even longer in the refrigerator (just make sure no water gets in).
- It removes lactose and casein, making it a delicious buttery substitute for those who are sensitive to dairy.
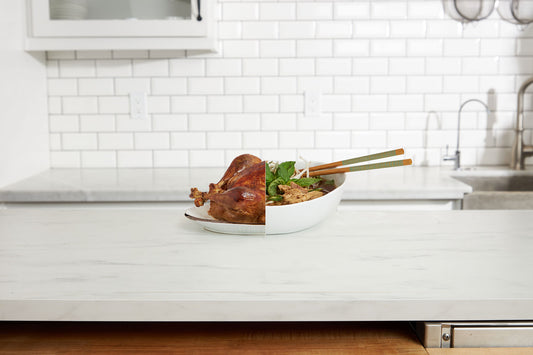
Uses for Clarified Butter
Because clarified butter and ghee are pure fats, they can be used as substitutes for pretty much any cooking oil. The key thing to note is that clarified butter imparts a distinct flavor when using it to cook. While this is a major benefit, it may not be suitable for dishes that require neutral- flavored cooking oils. Clarified butter can be used as a substitute for regular butter, with just a few caveats. It’s not great for baked goods, particularly those that require cold butter like pie crusts. It’s also more difficult to use in an emulsified sauce because it is a pure fat instead of an emulsified fat like whole butter. Here are a few of our culinary team’s favorite uses for clarified butter:- Frying breadcrumbs and anything covered in them. We use it in our Chicken Piccata recipe because it offers an extra buttery richness that complements the bright acidity of the sauce.
- High-temperature searing of fish and meat.
- Pancakes and Corn Cakes - this prevents butter from burning while your flapjacks are cooking and gives them even coloring.
- Home Fries and other potato dishes.
- Sauteing spices and vegetables for curries.
- Hollandaise and other emulsified egg sauces.

How to Clarify Butter
Ok, now that we’ve convinced you that “liquid gold” deserves a spot in your pantry, it’s time to make some of your own. What You'll Need:- Unsalted Butter— we usually do about 1 to 1.5 lbs at a time. (It stores well, so you may as well make enough to last a while… and trust us, this stuff goes fast.)
- A small saucepan.
- A slotted spoon or fine mesh strainer.
- Cheesecloth (optional).
Steps to Clarifying the Butter
1) Cube your butter (so that it melts evenly) and put it in a small saucepan.
2) If you have a Hestan Cue, set your temperature to 240°F for about 25 minutes (longer for ghee). This is the perfect temperature to slowly separate the components of the butter while also limiting the level of browning. If you don’t have a Cue, turn the heat to low and make sure to keep an eye on it. The process is pretty forgiving, but it is easy to miss the transition from clarified butter to the stronger flavored ghee if you’re not paying attention.
3) As the butter heats, the water will sink to the bottom and the solids will float to the top (the “emulsion” separates into components just like your salad dressing does).
4) Skim the foam from the top using a spoon or fine mesh strainer and continue until no more froth appears.
If you prefer the stronger flavor of ghee, don’t strain out your milk solids until they start to brown.
5) A layer of clear butterfat will be noticeable, and underneath that, a somewhat cloudy golden layer composed of the water and the remaining solids. Spoon off the butterfat, being careful not to catch any water, and then transfer it to a glass container. Now you’ve got clarified butter!
Let us know how you use your clarified butter by posting a photo on our Facebook community group page. Our chefs are also happy to answer any of your questions there.